
Roofing, Weatherproofing, and Long-term Maintenance
Protect your investment with proper roof installation and weatherproofing. Learn about flashing, ventilation, sealant application, and seasonal maintenance routines to extend your shed's life for decades.

Emrovault Editorial Team
Editorial Team
Written by the emrovault Editorial Team, focused on clear, practical guidance for garden shed assembly and storage solutions.
Why Your Roof Matters More Than You Think
The difference between a shed that lasts 5 years and one that lasts 25 years often comes down to one thing: what's protecting it from above.
A leaking roof doesn't just ruin what's stored inside. It damages the walls, rots the frame, and compromises the entire structure. You'll notice water stains, mold growth, and eventually structural failure. The good news? Proper installation and maintenance can prevent all of this. We're talking about attention to details most people overlook—flashing at the edges, adequate ventilation underneath, and the right sealants applied in the right places. It's not complicated, but it does require knowing what you're doing.
Understanding Roof Pitch and Water Drainage
The angle of your roof—what builders call the pitch—determines how quickly water runs off. A steeper pitch (think 6:12 or 8:12) sheds water faster. A shallow pitch (like 3:12) is cheaper but requires better underlayment and more careful sealing. Don't let anyone convince you to go too shallow just to save a few quid. Water finds its way into small gaps, and a shallow roof means water lingers longer on the surface.
Most prefab sheds use a 4:12 or 5:12 pitch, which is a solid middle ground. It sheds water reasonably well without requiring heavy-duty structural support. When you're assembling your shed, check that the roof frame sits at the correct angle. Even a degree or two off makes a difference over time. Water that should drain left might collect in a low spot instead.
Flashing: The Unsung Hero of Weatherproofing
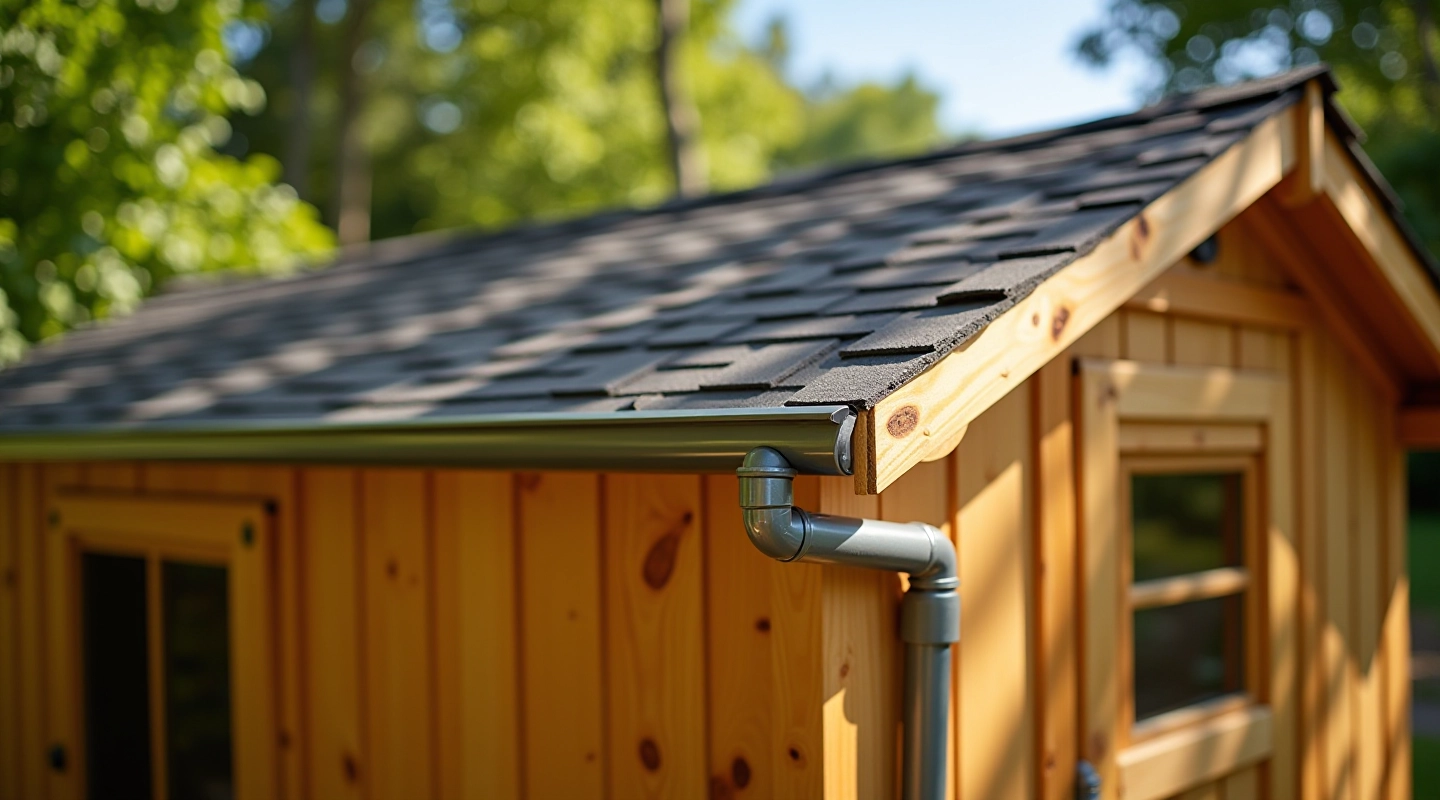
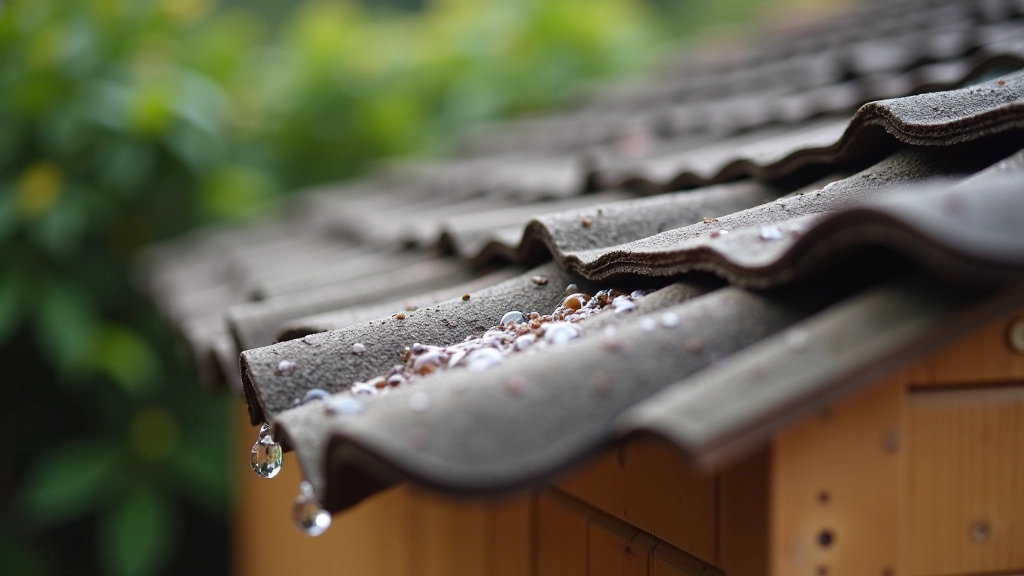
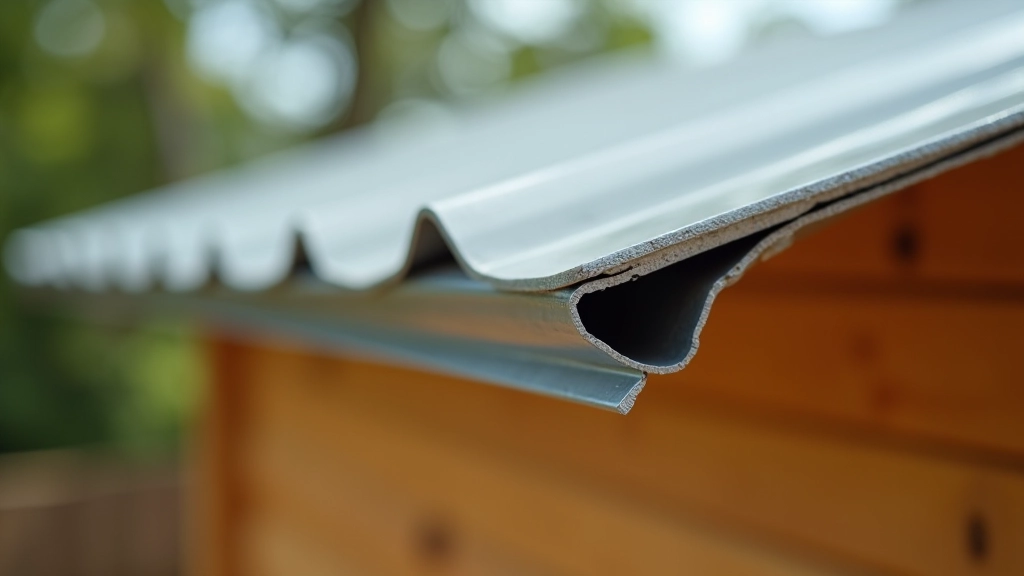
Flashing is the metal trim that directs water away from vulnerable joints—where the roof meets the walls, around any penetrations, and at the edges. It's genuinely the most important detail most people ignore. Cheap or poorly installed flashing is why you'll see water damage running down the inside of a wall that looks completely dry from outside.
You need flashing at every transition. The roof-to-wall junction needs an L-shaped piece that extends up the wall and across the roof. The overlap matters—typically 3 to 4 inches minimum. Don't skimp here. Stainless steel or aluminum flashing lasts longer than galvanized steel, though it costs a bit more. The investment pays back the first time you avoid a water problem.
Installation Sequence That Works
The order matters. Get it wrong and you're creating paths for water to follow straight into your shed.
Install Underlayment First
Before any shingles go down, the entire roof deck needs underlayment—synthetic or felt. This is your backup protection. Water that gets under the shingles still won't reach the wood. Don't skip this step even if it seems redundant.
Lay Flashing at Edges and Walls
Install all metal flashing before shingles start going on. Flashing goes down on top of underlayment but beneath the shingles at the overlap. This layering order is critical—water flows down and outward, which only works if each layer overlaps correctly.
Shingle from Bottom Up
Start at the lowest edge and work your way up. Each row overlaps the one below, so water flows down over the nails and seams rather than underneath them. This is how asphalt shingles are designed to work.
Seal All Penetrations and Ridges
Any place where something goes through the roof (vent pipes, roof vents, ridge caps) needs sealant. Use roofing cement or silicone rated for outdoor use. The ridge itself—the peak of the roof—takes cap shingles and also benefits from a bead of sealant underneath.
Ventilation: Letting Your Roof Breathe
Moisture gets trapped under roofs. It's inevitable. Rain, humidity, even condensation from temperature changes—it all accumulates. Without ventilation, that moisture rots the roof deck from underneath, and you won't see it happening until the damage is severe. Proper ventilation creates air flow that removes this moisture before it causes problems.
Most sheds benefit from soffit vents (at the lower edges) paired with a ridge vent or roof vents higher up. Hot air rises, so this setup creates natural convection—cool air enters from below, warm moist air exits at the top. It's passive, requires no fans or electricity, and it works year-round. Your shed stays drier, and the wood lasts longer. That's the kind of detail that separates a structure that fails at year eight from one that's still solid at year twenty.
Seasonal Maintenance Keeps Problems Away
A few minutes twice a year prevents expensive repairs later.
Spring Inspection
After winter, check for damage from ice, wind, or fallen branches. Look for missing or damaged shingles—you'll see exposed underlayment or wood. Check that gutters (if installed) aren't clogged with leaves. Make sure no debris has accumulated in the valleys or at the edges. Cleared gutters prevent water backup that can seep under the shingles. It takes maybe twenty minutes and prevents weeks of headaches.
Fall Preparation
Before heavy rain season, repeat the inspection. Clear gutters again. Look for places where sealant has cracked or dried out—around flashing, ridge caps, any penetrations. Small cracks let water in, but they're cheap and easy to reseal with roofing cement or silicone. Don't wait until you see water damage inside the shed. Prevention is always easier than repair.
Annual Touch-Ups
Every couple of years, walk around the entire perimeter and look at the flashing and sealant. Roofing cement and silicone eventually dry out and crack, especially on exposed surfaces. It's normal wear, not a sign you did something wrong. Just reseal any gaps you find. You're looking at maybe £20-30 in materials and an hour of work. Compare that to replacing water-damaged walls or dealing with mold growth, and it's obviously worthwhile.
Common Mistakes to Avoid
- Skipping underlayment to save money—it's not worth the risk
- Installing flashing with insufficient overlap—water will find that gap
- Using cheap sealant that cracks in winter—spend a bit more for roofing-grade products
- Forgetting ventilation—moisture damage is invisible until it's expensive
- Neglecting maintenance—five minutes twice a year prevents major repairs
Continue Your Shed Assembly Journey
Master each stage of construction with our comprehensive guides.

Foundation Work Before Assembly Starts
Getting the ground level and properly prepared prevents headaches later. This guide covers soil assessment, leveling, and foundation options.
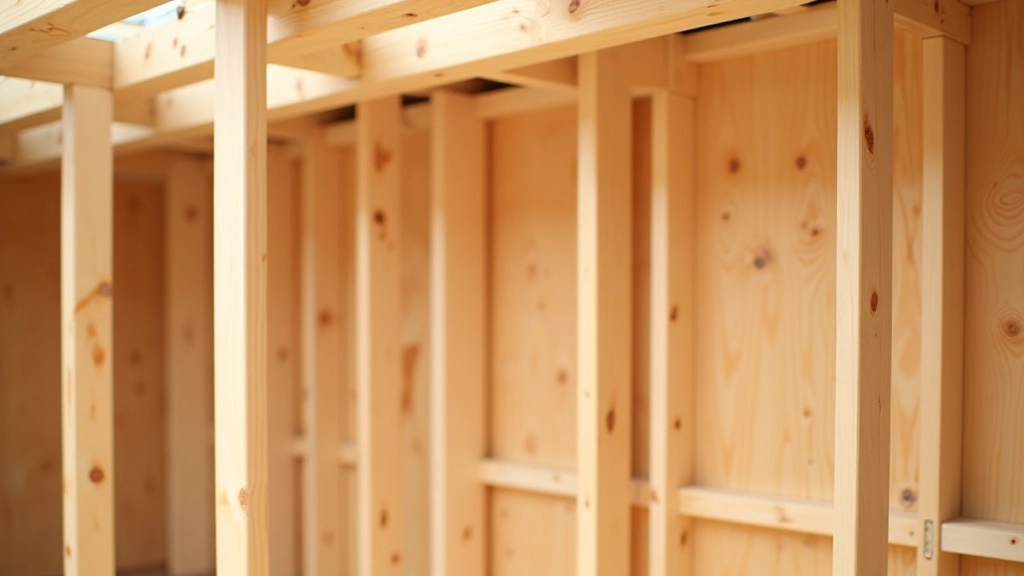
Framing and Wall Assembly: Step by Step
Learn how to properly assemble walls, check for square, and secure frame components for structural integrity and longevity.
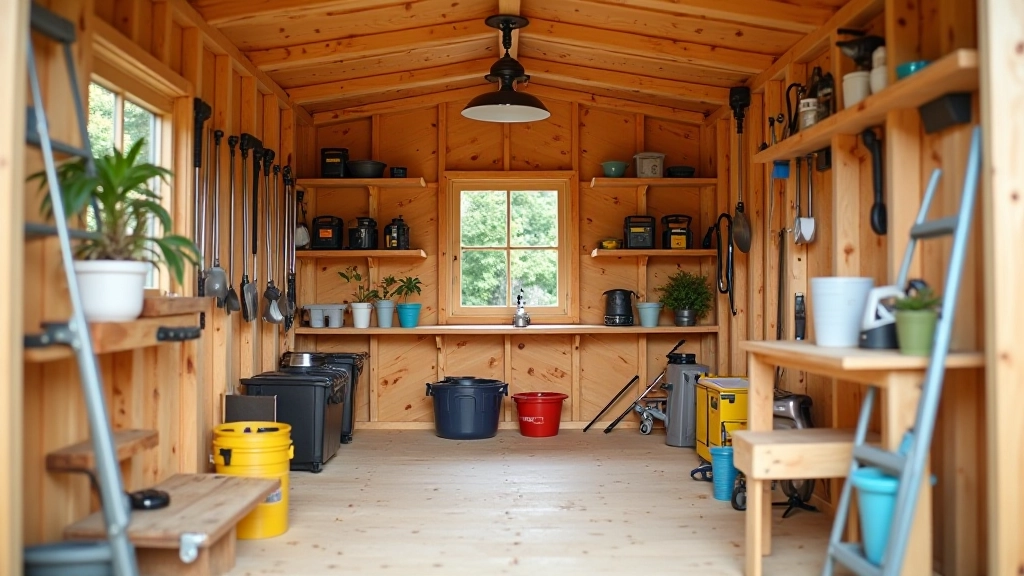
Interior Organization and Shelving Solutions
Transform your shed into an efficient storage space. Practical layouts for tool storage, seasonal items, and garden equipment.
The Long View on Weatherproofing
A shed that's properly roofed and weatherproofed becomes a background feature of your garden. You don't think about it. It just works, year after year, protecting whatever's inside. That's the goal—to build something that doesn't demand constant attention. And that's what you get when you pay attention to details at the start: proper pitch, flashing that overlaps correctly, sealants applied where water wants to enter, and ventilation that keeps moisture at bay. Add a bit of maintenance twice a year, and you've got a structure that'll still be standing decades from now. That's the real measure of a job well done.
Important Disclaimer
This guide is intended for informational and educational purposes. Building codes and weatherproofing standards vary by region and local jurisdiction. Before beginning any roofing or weatherproofing work, verify local building regulations and consult with qualified builders or structural engineers if you're unsure about any aspect of the installation. Material recommendations are general—always follow manufacturer instructions for the specific products you're using. Safety considerations apply to all roof work; use appropriate fall protection and scaffolding when working at height.