
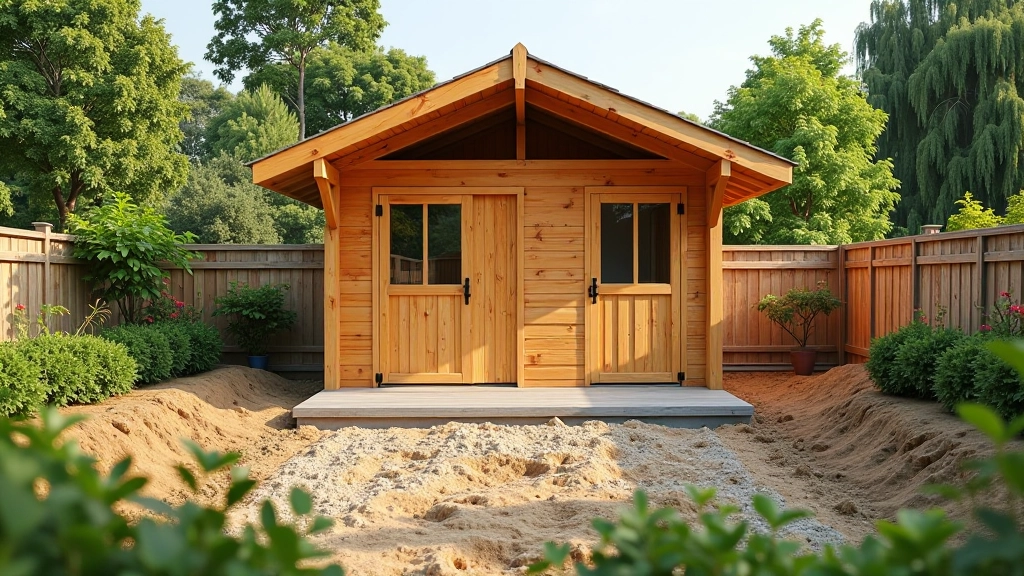
Foundation Work Before Assembly Starts
Getting the ground level and properly prepared prevents headaches later. This guide covers soil preparation, drainage, and foundation options.
Read GuideGet your walls straight, square, and solid. We'll walk you through the framing process — from laying out the bottom plates to securing everything plumb and true. You'll learn techniques for both wood and metal stud options.
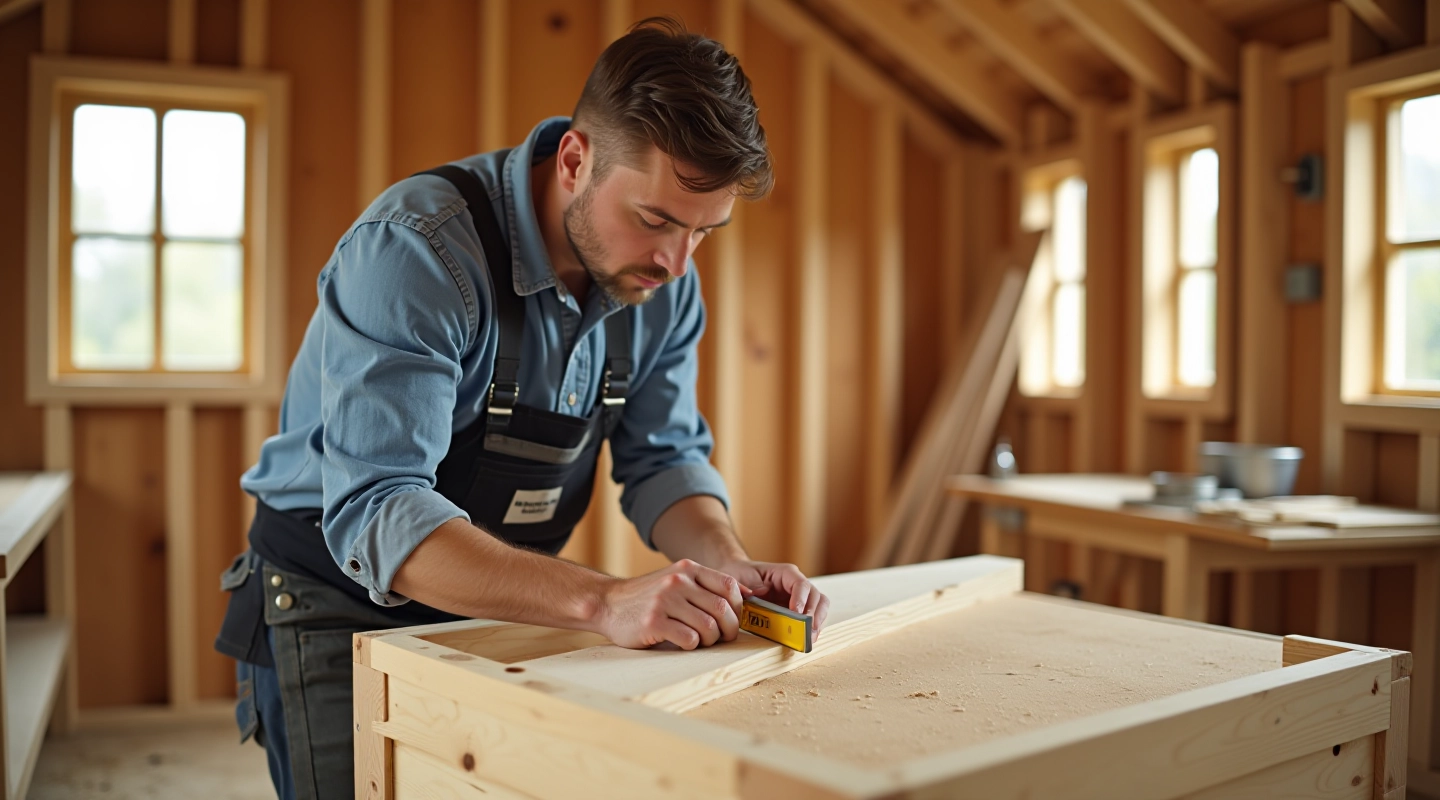
Framing is where your shed goes from a collection of materials to an actual structure. Get this right and everything else — doors, roof, siding — goes together smoothly. Get it wrong and you'll be fighting angles and gaps for weeks.
The good news? Wall assembly isn't complicated. It's methodical. You're essentially building rectangular frames, checking they're square, and fastening them together. Once you understand the sequence and why each step matters, you'll see how straightforward it really is.
Square walls are strong walls. Everything flows from that. We'll show you how to check for square, maintain it throughout assembly, and fix it if something shifts during the process.
Your bottom plates are the foundation of the wall frames. These sit on your completed foundation and hold everything upright. Start by identifying your wall dimensions from your kit's plans. Most prefab kits give you exact lengths — don't estimate here.
Lay out your bottom plates on a flat surface. Use a chalk line or pencil to mark where your studs will go. Standard spacing is 16 inches on center (that means 16 inches from the center of one stud to the center of the next). Some kits specify 24-inch spacing instead — follow your plans.
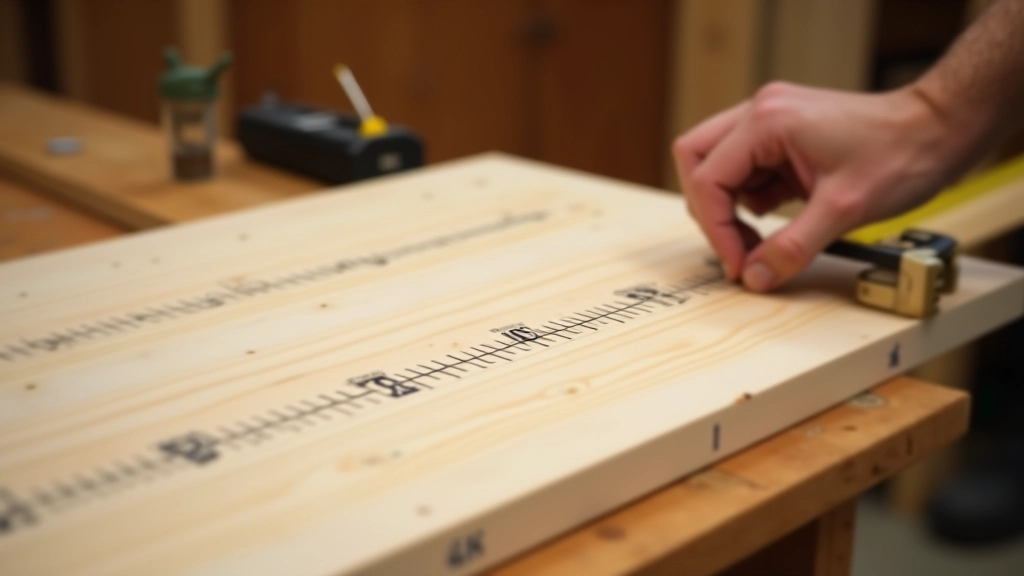
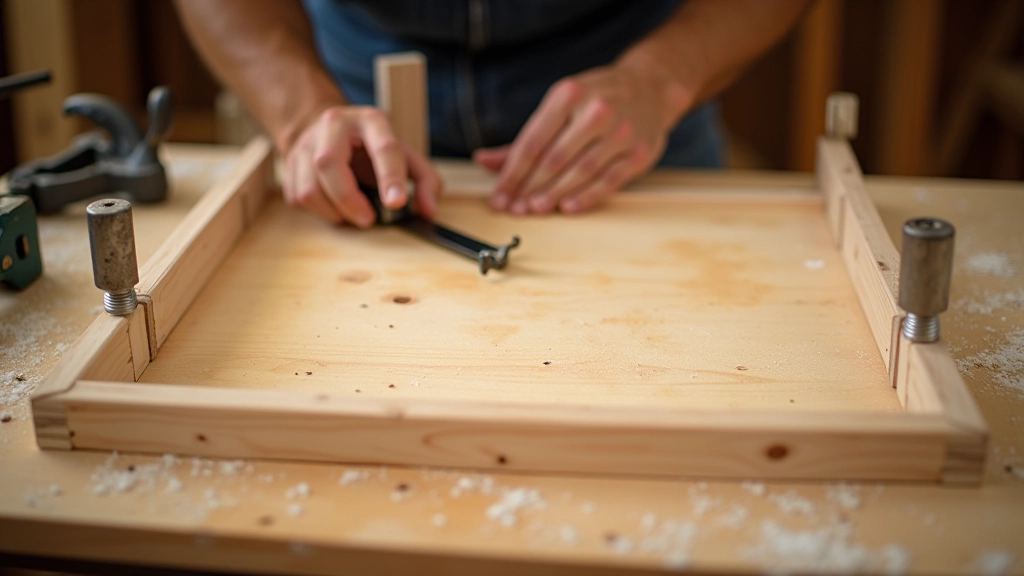
Now you'll build the actual wall frame. Lay your bottom plate on a flat work surface, then position your studs at the marks you made. Your top plate goes on top of the studs. Don't fasten yet — just dry-fit everything first.
This is critical: use a speed square or framing square to check that each stud sits at a 90-degree angle to the plates. If you're using metal studs, they'll have predrilled holes that guide fastener placement. Wood studs need careful nail or screw placement — aim for the center of the plate to avoid splitting.
Pro tip: Use 3-inch fasteners (nails or wood screws) for wood-to-wood connections. Metal studs typically use self-drilling screws. Two fasteners per connection keeps things solid without over-fastening.
Before you secure anything permanently, check that your frame is actually square. This is where most people rush — and it shows later. Measure diagonally from corner to corner of your frame. Both diagonals should be the same length. If they're different, your frame is racked (twisted). Gently tap corners with a rubber mallet until the diagonals match.
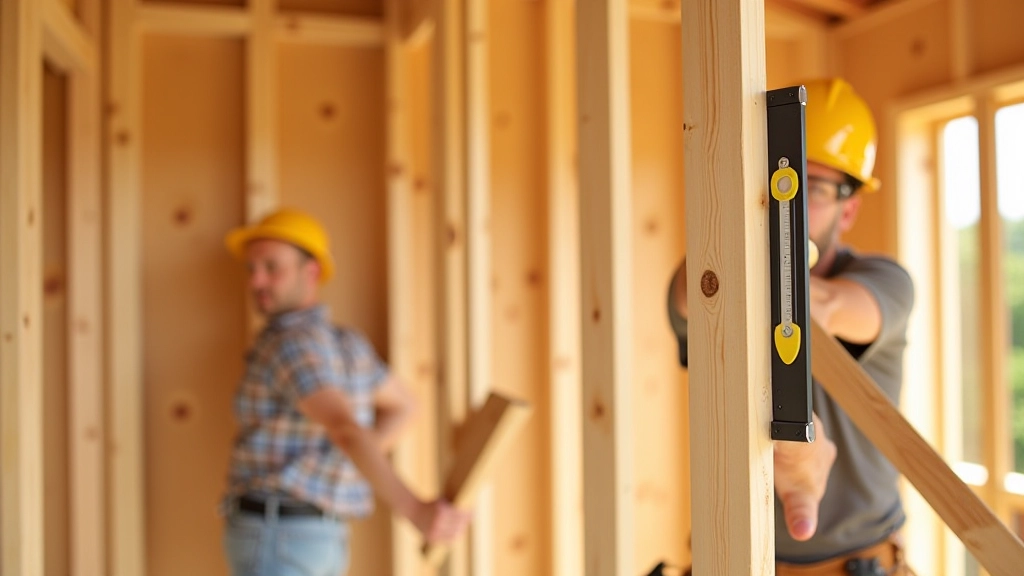
Use a 4-foot level to check that your studs are plumb (perfectly vertical). Place it against each stud. Any studs that lean need adjustment before fastening. Once everything checks out, you're ready to secure joints permanently.
Metal stud frames are more forgiving here — the predrilled holes keep everything aligned. Wood studs need more careful attention. Take your time on this step. It's the difference between a door that closes smoothly and one that binds.
Continue your shed assembly journey with these guides
Getting the ground level and properly prepared prevents headaches later. This guide covers soil preparation, drainage, and foundation options.
Read Guide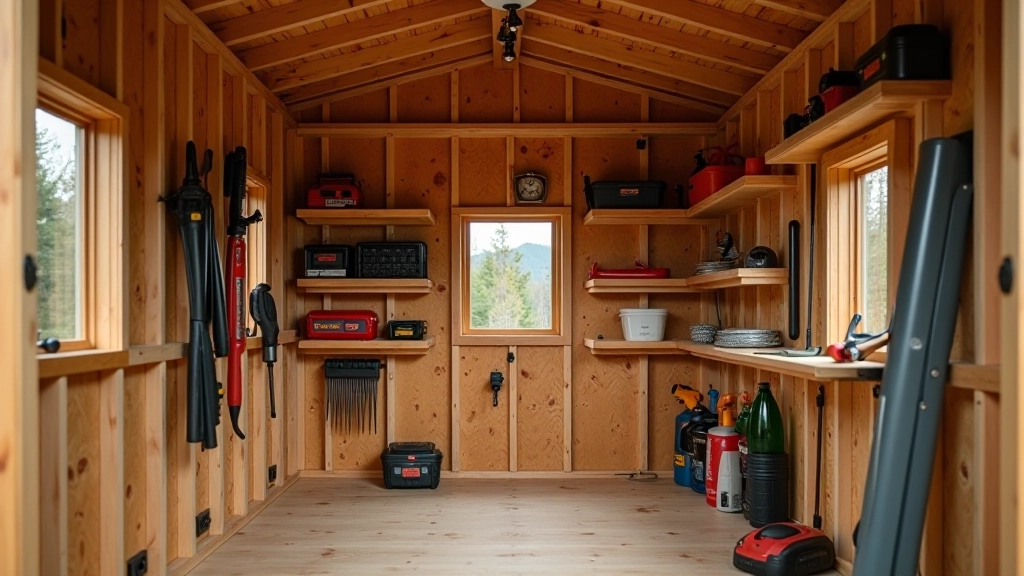
Transform your shed into an efficient storage space. Practical layouts for tool storage, workbench placement, and seasonal access.
Read Guide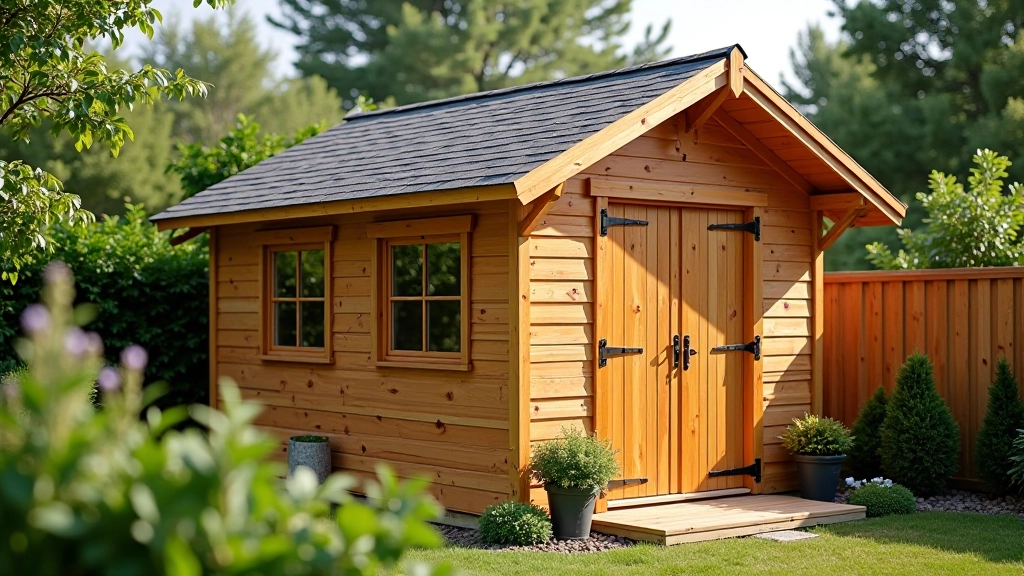
Protect your investment with proper roof installation and weatherproofing. Covers materials, installation steps, and seasonal maintenance.
Read GuideOnce your frame is square and plumb, secure all fasteners. For wood frames, drive nails or screws through plates into studs — aim for at least two fasteners per stud. Metal studs should be fully fastened according to kit specifications. This is where your wall becomes truly rigid.
Temporary bracing keeps walls from racking while you work on adjoining walls and the roof. Use 2x4 lumber or kit-provided bracing diagonally from top corner to bottom of an adjacent wall. You'll remove these once the structure is fully enclosed. This bracing prevents the whole shed from becoming parallelogram-shaped when you're moving it or assembling the roof.
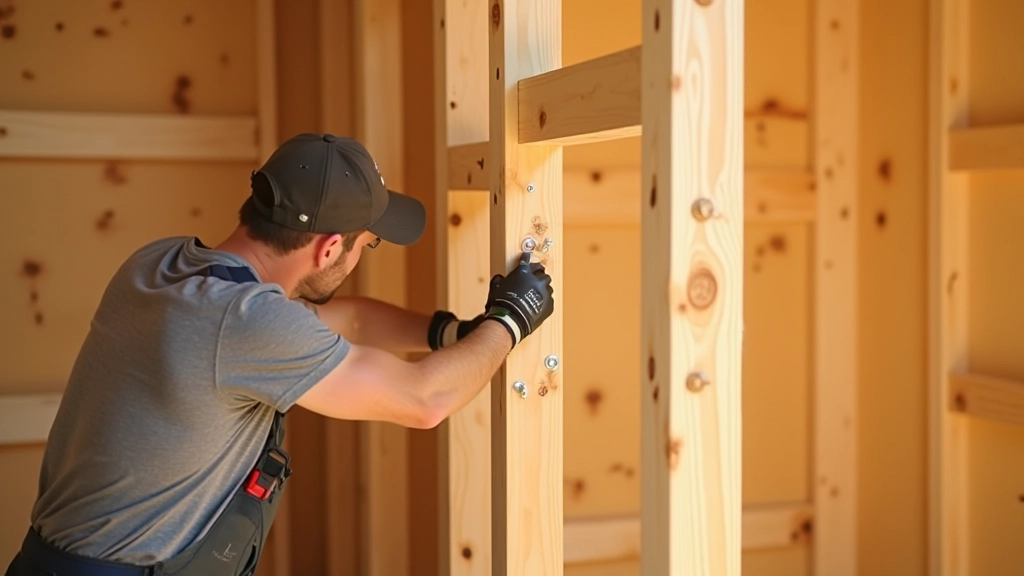
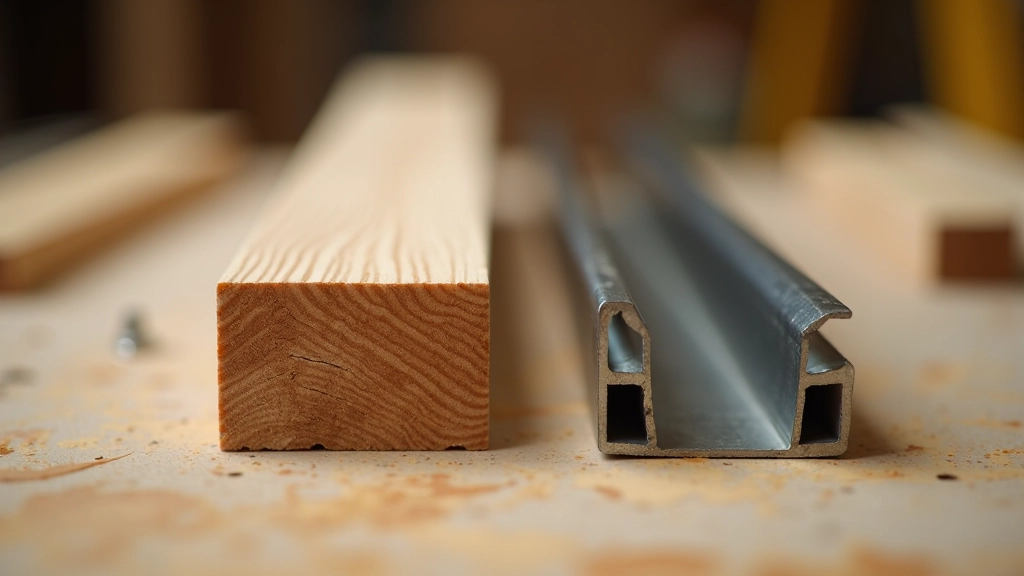
Most prefab kits offer wood studs, but metal studs are becoming more common. Here's what you'll encounter with each.
Wood studs: You'll hand-select them (look for straight pieces without major knots), mark locations, and fasten everything with nails or screws. Wood is forgiving — you can tap pieces into alignment. It's also heavier and requires careful stacking to prevent warping during storage.
Metal studs: These come predrilled and pre-marked. You don't have to hunt for straight pieces — they're all identical. Fastening uses self-drilling screws (just don't over-tighten). Metal is lighter and doesn't warp. The trade-off? You can't easily adjust if something doesn't fit perfectly — holes are fixed.
Either option works well. Wood feels more natural to work with if you're new to this. Metal is faster if you're experienced and have a power drill.
Wall assembly looks intimidating until you do the first one. Then you see it's just repeated steps: mark, dry-fit, check for square, fasten, brace. Your second wall takes half the time of your first. By the third and fourth walls, you'll have the rhythm down.
The biggest thing? Don't skip the square-checking step. Seriously. That's where most assembly problems hide. Check once, check twice, then fasten. You'll be grateful later when your doors close smoothly and your roof sits properly.
This guide provides general information about garden shed framing and assembly techniques. Actual assembly steps, fastener specifications, and structural requirements vary based on your specific prefab kit, local building codes, and site conditions. Always consult your kit's assembly instructions before beginning work. If your kit requires structural calculations or engineering review, consult a qualified builder or engineer. Improper framing can compromise structural integrity and safety. We're here to help you understand the process — your kit manufacturer's instructions are the definitive source for your specific project.